Happy Friday, everyone! Shortly after Jen and I decided to combine our creative forces and start RetroChic, I attended a wonderful women's conference put on by my church. It was all about being women of wonder, and one of my favorite speakers showed us a really great short video, entitled "Create." It really made me feel good about what we do. So, today's "Friday Find" is a little bit of inspiration! Hope you enjoy! Also, be sure to check out our Facebook page - we have an awesome contest and giveaway going on right now through next Friday - you won't want to miss it!!!
Wednesday, June 22, 2011
Friday, June 17, 2011
Friday Find


 Above pictures taken from here
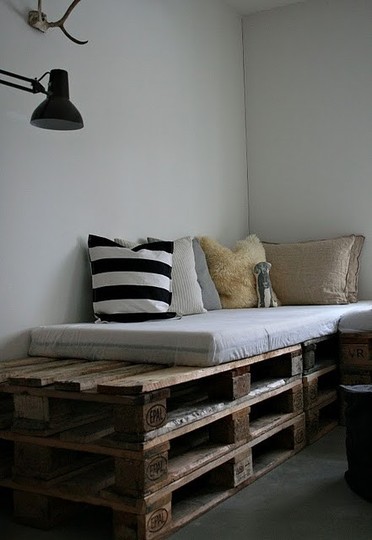
My husband lately has taken on a new hobby of wood working. So far he has come up with some pretty cool things. He just finished a dog house made out of recycled wood shipping pallets. It turned out that using the recycled pallets gave the house a bit of character and charm. I love the different colors of the wood tones and plus it was extremely cheap/almost free, which is an added bonus - and let's not forget about being green. I started thinking of other ways we could use shipping pallets around the house. I was looking on the web and came across these really cool ideas on Apartment Therapy . My favorite is the headboard - what an inexpensive way to get a really different headboard with out spending a a lot of money!!!
Time to search Craigslist for some more pallets.
Monday, June 13, 2011
How to Paint a Mirror


We didn't take a ton of pictures during the process, but it was fairly easy to transform this mirror from brown to silver. Here is how we did it:
1. Lightly sand entire mirror using a 220-grit or higher sandpaper.
2. Clean entire surface with mild soap and water, dry.
3. Cover mirror with paper/plastic/and tape so that it won't get painted on.
4. Prime the frame - we used Kilz in a spray can.
5. After primer has dried, repeat steps 1-2, this time using 400-grit sand paper.
6. Next, to get the silver look, we gave it several coats of Rustoleum's metallic silver spray paint.
7. After that dried, we brushed on some antiquing glaze made by Valspar, then rubbed most of it off with a clean, lint-free cloth. This adds dimension to the color.
8. Spray finished surface with several coats of clear protective coat.
9. Remove tape and paper, and see how beautiful your new mirror looks!
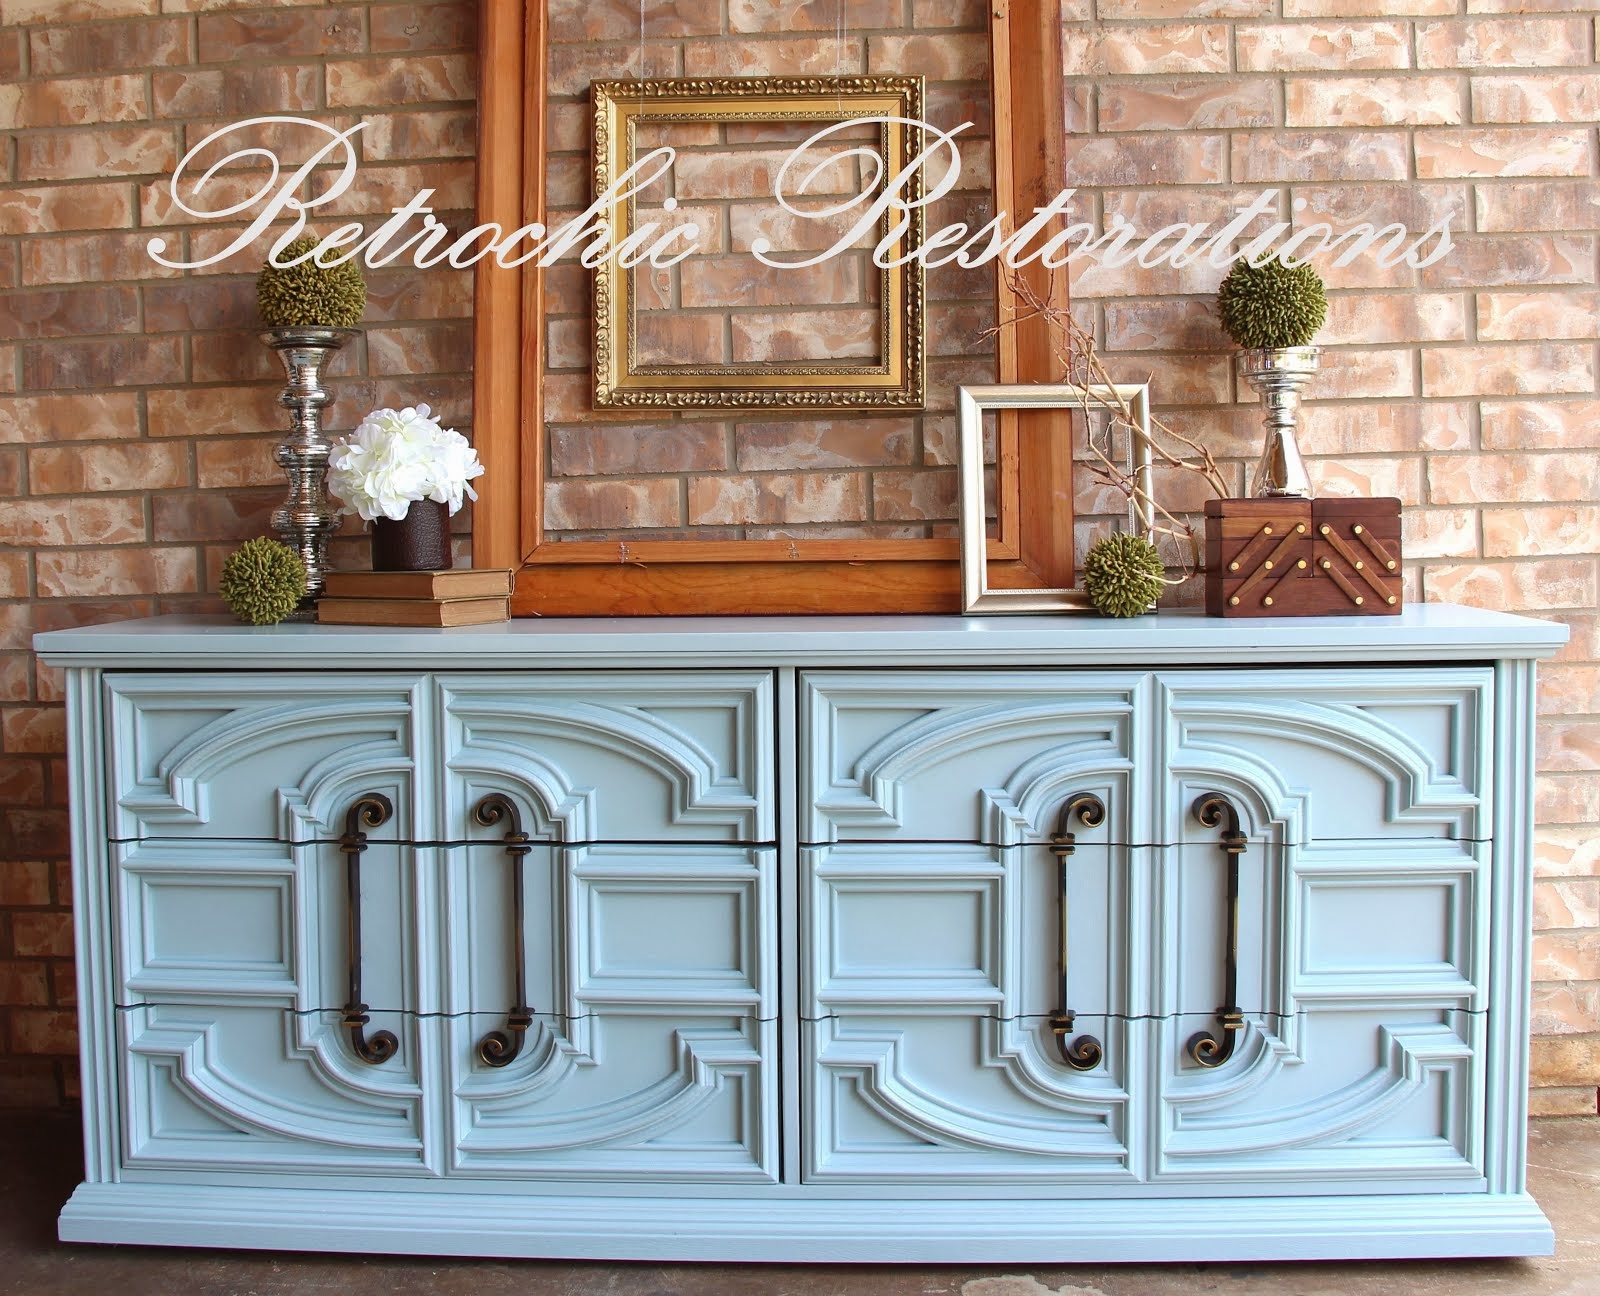
Large Black Dresser/Buffet/Media Console
Love, love, love how this looks in my kitchen staged as a buffet!!! If I didn't normally have a desk there, I would be tempted to keep it! Here are a couple before/after pictures - as you can see, it was super-ugly before. Now it's super-sleek and sophisticated:


 Dresser/Buffet/Media Console: $225


 Dresser/Buffet/Media Console: $225
Blake's Furniture
We loved meeting and working with Blake! She bought our headboard and bedside table, and had us refinish some of her own pieces to mix and match with it. She is moving into a cool house and redoing her bedroom. We were so excited to get started, that we forgot to take "before" pictures until it was almost too late. Here are a couple before/afters, plus the other pieces:
 Mini-bookcase/Nightstand:


Mirror and Desk:
The desk was the same color as the mirror (more on that in another post) before we painted it black. We also replaced its gold hardware with new, pretty glass knobs. Now I know what I need to put in my entry way. It looks perfect there, doesn't it?!


Headboard and bedside table:
 Mini-bookcase/Nightstand:
Blake wanted this to match her headboard. It wasn't in the best shape
when we got it, but a little sanding and wood putty fixed it!
when we got it, but a little sanding and wood putty fixed it!


Mirror and Desk:
The desk was the same color as the mirror (more on that in another post) before we painted it black. We also replaced its gold hardware with new, pretty glass knobs. Now I know what I need to put in my entry way. It looks perfect there, doesn't it?!


Friday, June 10, 2011
Friday Finds 6.10.11

One of my best finds for my house were these beautiful mirrors that we put in all of our bathrooms to replace the plain, gigantic, unframed builder grade mirrors that were there before. And guess how much they were - only $44 at WalMart!!! Go check them out - they still have them at our WalMart, plus tons of other pretty ones to choose from by Better Homes and Gardens! Changing out the mirrors and putting a little paint on the walls is an easy, inexpensive way to update a bathroom and make it more modern and chic!
Hope everyone has a wonderful weekend! I will try to get some before and after pictures posted this weekend of our latest projects, so be sure to check back soon!
- Michalann
Friday, June 3, 2011
Friday Find


I have always had a dilemma when it comes to displaying my children's art work in my home. Don't get me wrong - I love what their little hands create, and love to watch them express themselves through art - but how do I showcase every little piece of paper they lovingly make for us?
I have been trying to create a place just for them and let them display what they would like, and have it be in a place we can see everyday and people will see as well when they come into our home. Our breakfast bar that was in need of some color and beauty and I thought, what a perfect spot for the kids art work! I went to our local thrift store (I am always in need of an excuse to go there) and they had these fabulous old gold picture frames with no glass in them for .25 (SCORE)! I took them home and was so excited that I did not get before pictures. I primed them and then painted a gloss white on them. The next step was tricky and that that was getting the fishing wire to hold the weight of the pictures, and making sure it was level. Once I got that figured out it was perfect for the kids. I really think I should add more. The girls love to put their drawings and art work up there for everyone to see, it has now become a beautiful focal point in our kitchen.
Well, I am off in search of more frames to turn into wall hangings for them.
Subscribe to:
Posts (Atom)